
In modern IT infrastructure, where speed, control, and uptime are critical, system administrators and developers often need a way to manage domain resolution instantly without waiting for global DNS propagation. This is where the hosts file becomes an essential tool. Whether you are deploying a new website, migrating servers, testing applications, or securing your environment, understanding how to configure the hosts file on a Windows Server gives you a significant operational advantage.
DNS (Domain Name System) is designed to translate human-readable domain names into IP addresses, but it relies on distributed servers and caching mechanisms, which can introduce delays. These delays can slow down deployments, complicate testing, and create inconsistencies across environments. The hosts file bypasses all of that by allowing you to define domain-to-IP mappings locally on a server.
For businesses, developers, and hosting users, especially those working with VPS or dedicated infrastructure, mastering this simple yet powerful configuration can streamline workflows, reduce downtime, and improve troubleshooting efficiency. In high-performance hosting environments such as those provided by Purvaco, the hosts file is frequently used for staging environments, migration validation, and internal routing.
This guide provides a complete, step-by-step walkthrough of configuring the hosts file on a Windows Server, along with best practices, advanced use cases, and troubleshooting techniques.
What is the Hosts File?
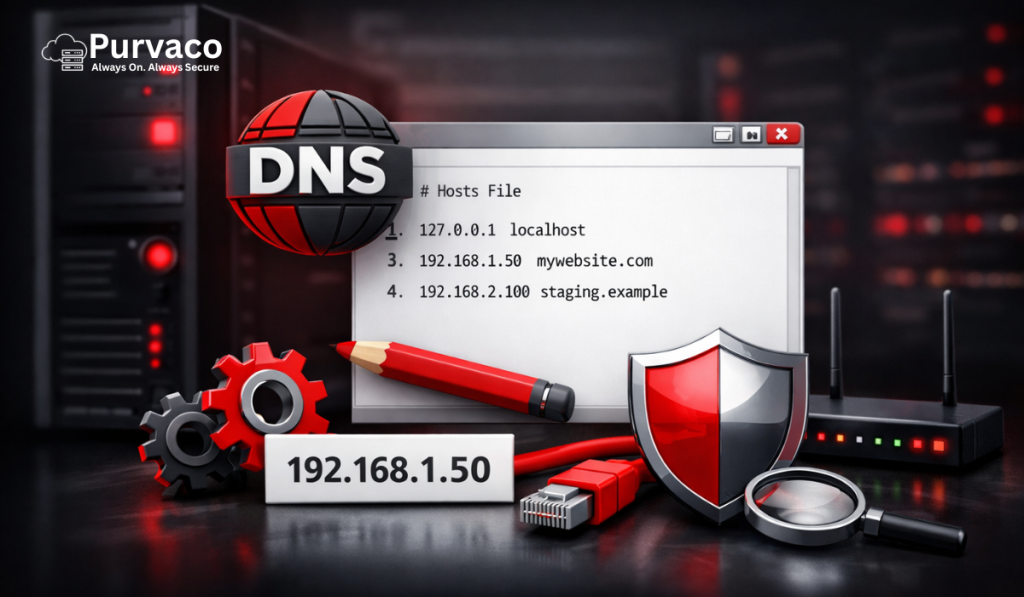
The hosts file is a plain text file used by the operating system to map hostnames (domain names) to IP addresses. It acts as a local DNS resolver, meaning it is checked before any external DNS queries are made.
When you enter a domain name into a browser or attempt to connect to a server, the system follows a sequence:
- Check the hosts file for a matching entry
- If not found, query configured DNS servers
- Resolve the domain to an IP address
Because the hosts file is checked first, it has the ability to override DNS results entirely.
The basic syntax of the hosts file is straightforward:
For example:
This entry forces the system to resolve “example.com” to the specified IP address, regardless of what public DNS records say.
You can think of the hosts file as a local phonebook stored on your server. Instead of asking a global directory (DNS), your system checks its own records first.
Why Configure the Hosts File on Windows Server?
Configuring the hosts file is not just a technical exercise—it has real-world applications across development, system administration, and business operations.
One of the most common use cases is website testing before DNS propagation. When migrating a website to a new server, DNS changes can take hours or even days to fully propagate across the internet. By editing the hosts file, you can point your local system to the new server instantly and verify everything is working before making the change public.
Another important use case is zero-downtime migration. Businesses cannot afford downtime, especially in eCommerce or SaaS environments. By using the hosts file, administrators can validate the new server setup while users continue accessing the old server, ensuring a seamless transition.
The hosts file is also used for blocking malicious or unwanted domains. By mapping a domain to localhost (127.0.0.1), you effectively prevent the system from accessing it. This is often used in security hardening and content filtering.
In development environments, teams frequently use the hosts file to create custom domain mappings for local or staging servers. This allows developers to simulate real-world environments without affecting live DNS records.
Enterprises use hosts file configurations for internal routing, especially in closed networks where internal services need to be resolved without external DNS.
For hosting users, particularly those using VPS or dedicated servers, the hosts file becomes a critical tool for debugging, testing, and optimizing performance.
Where is the Hosts File Located in Windows Server?
On Windows Server systems, the hosts file is located in the following directory:
This file does not have a file extension, which sometimes confuses users when attempting to open it. It is a protected system file, meaning administrative privileges are required to modify it.
This location remains consistent across different versions of Windows Server, including Windows Server 2016, 2019, and 2022.
Because the file resides in a system directory, it is protected by User Account Control (UAC), ensuring that only authorized users can make changes.
Prerequisites Before Editing the Hosts File
Before modifying the hosts file, there are several prerequisites and precautions to consider.
First, you must have administrative privileges. Without elevated permissions, you will not be able to save changes to the file.
Second, it is strongly recommended to create a backup of the hosts file before editing. Even a small mistake can lead to connectivity issues, and having a backup allows you to quickly restore the original configuration.
Third, you should understand the syntax of the file. Incorrect formatting, such as missing spaces or invalid IP addresses, can cause resolution failures.
Finally, be aware of the potential risks. Misconfigured entries can redirect traffic incorrectly, disrupt services, or create security vulnerabilities.
Step-by-Step Guide to Configure Hosts File on Windows Server
Configuring the hosts file involves several precise steps. Following them carefully ensures that your changes are applied correctly.
Step 1: Open Notepad as Administrator
Click on the Start menu and search for “Notepad.” Right-click on it and select “Run as administrator.” This step is essential because the hosts file is a protected system file.
If you do not run Notepad with elevated privileges, you will not be able to save your changes.
Step 2: Navigate to the Hosts File
In Notepad, click on “File” and then “Open.” Navigate to the directory:
By default, Notepad shows only text documents. Change the file type dropdown to “All Files” so that the hosts file becomes visible.
Select the “hosts” file and open it.
Step 3: Edit the Hosts File
Once the file is open, you will see existing entries, including comments and the default localhost mapping.
To add a new entry, simply write:
For example:
Ensure there is at least one space or tab between the IP address and the domain name.
Each entry should be placed on a new line.
Step 4: Save the File
After adding your entries, click “Save.” Make sure the file is saved without any extension such as “.txt.” If the file is saved incorrectly, Windows will not recognize it as a hosts file.
Step 5: Flush DNS Cache
Windows caches DNS results, so your changes may not take effect immediately. To clear the cache, open Command Prompt as administrator and run:
This forces the system to reload DNS information, including your updated hosts file.
Step 6: Verify the Changes
To confirm that your configuration is working, use the ping command:
If the output shows the IP address you specified, the configuration is successful.
Understanding Hosts File Syntax and Rules
The hosts file follows a strict syntax, and understanding it is crucial for proper configuration.
Each entry must be on a separate line and follow this format:
Comments can be added using the “#” symbol. These lines are ignored by the system and are useful for documentation.
For example:
127.0.0.1 localhost
192.168.1.10 dev.site.com staging.site.com
Multiple domain names can be mapped to a single IP address by listing them on the same line.
Common mistakes include extra spaces, incorrect IP formats, duplicate entries, and missing domain names. These errors can cause unexpected behavior.
Practical Use Cases
One of the most valuable aspects of the hosts file is its versatility in real-world scenarios.
During website migration, administrators use the hosts file to test the new server setup before updating DNS records. This ensures that all configurations, databases, and files are working correctly.
Another use case is blocking websites. By mapping a domain to 127.0.0.1, you effectively prevent access to it. This is commonly used for blocking social media sites or malicious domains.
The hosts file can also improve performance by bypassing slow or unreliable DNS servers. By directly mapping domains to IP addresses, you eliminate the need for DNS lookups.
In enterprise environments, the hosts file is used for internal routing. Internal servers and services can be mapped without relying on external DNS infrastructure.
Developers frequently use the hosts file to create custom local environments. For example, mapping a domain to localhost allows them to test applications as if they were running on a live server.
Testing and Troubleshooting
Even small mistakes in the hosts file can lead to issues, so testing and troubleshooting are essential.
Common tools include ping, nslookup, and tracert. These tools help verify whether the domain is resolving correctly and identify where issues may be occurring.
If changes are not taking effect, the most common cause is DNS caching. Running “ipconfig /flushdns” usually resolves this issue.
Permission errors may occur if the file is not opened with administrative privileges. Antivirus or security software can also block modifications to the hosts file.
In some cases, restarting the network service or the server may be necessary to apply changes fully.
Security Considerations
While the hosts file is a powerful tool, it also presents security risks.
Malware can modify the hosts file to redirect users to malicious websites. This is often used in phishing attacks.
To mitigate these risks, administrators should regularly monitor the hosts file for unauthorized changes. Access should be restricted to trusted users only.
Using security software and maintaining system updates can also help protect against unauthorized modifications.
Hosts File vs DNS: Key Differences
The hosts file and DNS serve similar purposes but operate at different levels.
The hosts file is local to a system, while DNS operates globally across networks. Changes to the hosts file are instant but limited to a single machine.
DNS, on the other hand, is scalable and automated but subject to propagation delays.
In practice, both are used together. The hosts file is ideal for testing and temporary overrides, while DNS is used for permanent configurations.
Advanced Tips for Power Users
Advanced users can leverage the hosts file in more sophisticated ways.
Scripts can be used to automate hosts file updates, especially in development environments where configurations change frequently.
In DevOps workflows, the hosts file can be integrated into deployment pipelines for testing and validation.
For VPS and dedicated server users, combining hosts file configurations with server-level optimizations can significantly improve performance and reliability.
Common Errors and Fixes
Several common issues can occur when working with the hosts file.
Access denied errors usually indicate a lack of administrative privileges. Running the editor as an administrator resolves this.
If the file is not saving correctly, ensure it does not have a “.txt” extension.
If domains are not resolving as expected, check for syntax errors and flush the DNS cache.
Why This Matters for Hosting Users
For hosting users, especially those managing VPS or dedicated servers, the hosts file is a critical tool.
It enables faster deployment cycles by allowing immediate testing of new configurations. It also supports zero-downtime migrations, ensuring that users experience uninterrupted service.
Debugging becomes more efficient, as administrators can isolate issues without relying on external DNS.
In high-performance hosting environments, mastering the hosts file provides greater control, flexibility, and efficiency.
Conclusion
The hosts file is one of the simplest yet most powerful tools available on a Windows Server. It provides instant control over domain resolution, enabling faster testing, improved security, and efficient server management.
By understanding how to configure and use the hosts file effectively, administrators and developers can streamline workflows, reduce downtime, and enhance overall system performance.
Whether you are managing a single server or a complex infrastructure, this knowledge is essential for modern hosting and system administration.